
Workspace Overview
Your Workspace is the unified environment where you can build, deploy, and manage all your data workflows securely and efficiently. It is divided into three primary areas: Studio, Runtime, and Admin.
Workspace Areas
1. Studio
The Studio is your interactive development and workflow design environment.
In Studio, you can:
- Create DAGs: Design and define data workflows using Airflow
- Develop Visualisations: Build interactive apps and dashboards with Streamlit
- Manage Python Environments: Create and approve custom Python environments for your pipelines and notebooks
- Set Variables, Connections, and Secrets: Manage configuration securely for your workflows
- Connect to Git Repositories: Use version control for notebooks and scripts
- Develop in Notebooks and IDE: Create, edit, and run notebooks for data exploration and model development
Note: All development and workflows in Studio run on the Studio server, ensuring an integrated and consistent environment for your team.
2. Runtime
The Runtime area provides visibility into your execution environments.
In Runtime, you can:
- View Projects Running: Monitor active projects and their statuses
- See Pinned and Recent Projects: Quickly access your pinned favourites and recently opened projects for efficiency
Note: Runtime is read-only; users cannot modify or control runtimes directly here. All executions are managed through pipelines and orchestrators configured in Admin.
3. Admin
The Admin area is your workspace management console.
In Admin, you can:
- Manage Users and Access: Add or remove users, assign roles, and manage team permissions
- Create Runtime Projects: Provision and configure projects in different runtimes (e.g. Airflow, Spark)
- Manage Studio Server Access: Control which users have access to Studio features
- Approve Python Environments: Review and approve environments created by users in Studio
- Manage Teams and Roles: Define team structures, roles, and permissions
- Manage App access: Define App access for users
- Monitor Metrics: View workspace usage and performance metrics for optimised operations
Switching Between Areas
You can easily switch between Studio, Runtime, and Admin using the workspace area switcher at the top of your interface.
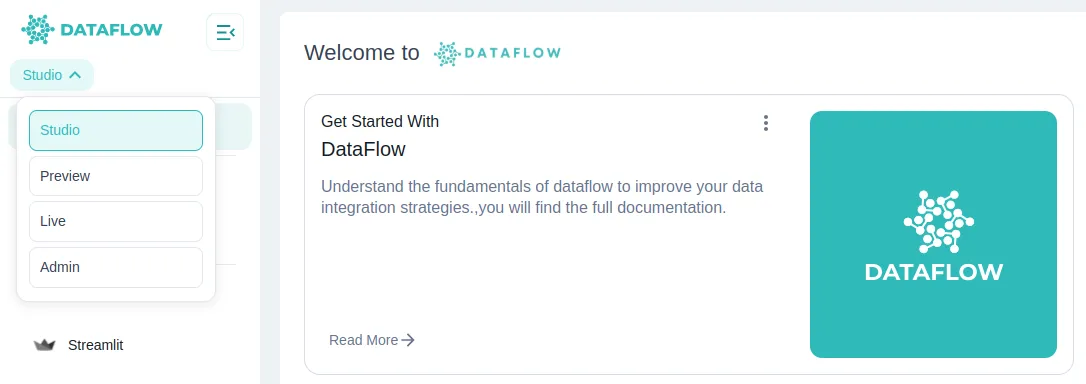
Tip: Switching ensures you are always working in the correct context, whether developing workflows, monitoring executions, or managing users and settings.
Summary
Your workspace areas provide:
- Studio: A development hub to create, build, and manage workflows and environments
- Runtime: A monitoring console to track running projects and jobs
- Admin: A management console to control users, runtimes, environments, and overall workspace configuration
Explore each area in detail in the following documentation sections to unlock the full capabilities of your platform.