
Manage Python Environment
The Python Environment Approval process allows Admins to review and control which custom environments are published for use across your workspace. This ensures security, compatibility, and standardisation for all workflows.
What is Environment Approval?
When users create a custom Python environment in Studio, they can:
- Save it as a draft for personal use and further editing
- Submit it for publishing, making it available to all users after Admin approval
The Admin review process ensures only tested, secure, and compatible environments are published in the workspace.
Approving or Rejecting an Environment
1 Viewing Pending Environments
- Navigate to Admin → Python Environments from the sidebar.
- You will see a list of environments needs approval:
2 Reviewing Environment Details
Click on the environment name to view:
- Environment Name and Base Environment
- Creator (user who built it)
- Installed Libraries and Versions (e.g. pandas==1.3.5, scikit-learn==1.1.3)
- Description (optional notes from the creator)
You can also compare libraries and versions with existing published environments to ensure consistency, security compliance, or avoid duplication.
3 Approving an Environment
- Click Approve if the environment meets your workspace standards.
- The status will change to Published and it becomes available for all users in Studio for selection during server launch and in runtimes.
4 Rejecting an Environment
- Click Reject if the environment does not meet requirements or needs modification.
- The status will revert to Draft, and the user can update and resubmit the environment for approval.
Approval Workflow Summary
- User creates and builds environment → Saves as draft
- User submits environment for publishing
- Admin reviews environment details and libraries
- Admin approves ➔ Environment status changes to Published
- Admin rejects ➔ Environment status reverts to Draft, user can edit and resubmit
Best Practices
- Approve only environments with validated, secure, and workspace-compliant libraries.
- Reject and provide feedback for environments with outdated or conflicting library versions.
- Periodically review published environments to deprecate unused ones and maintain a clean, standardised environment list.
Summary
Through the Python Environment Approval process, Admins ensure:
- Only verified environments are published and used across the platform
- Workspace compatibility, security, and cost-efficiency are maintained
- Users can build custom environments confidently while adhering to governance policies
Managing Pip Sources
As an Admin, you can configure organization-wide pip sources that will be available to all users when building their Python environments. This allows you to set up private package repositories, internal mirrors, or alternative package indexes for the entire workspace.
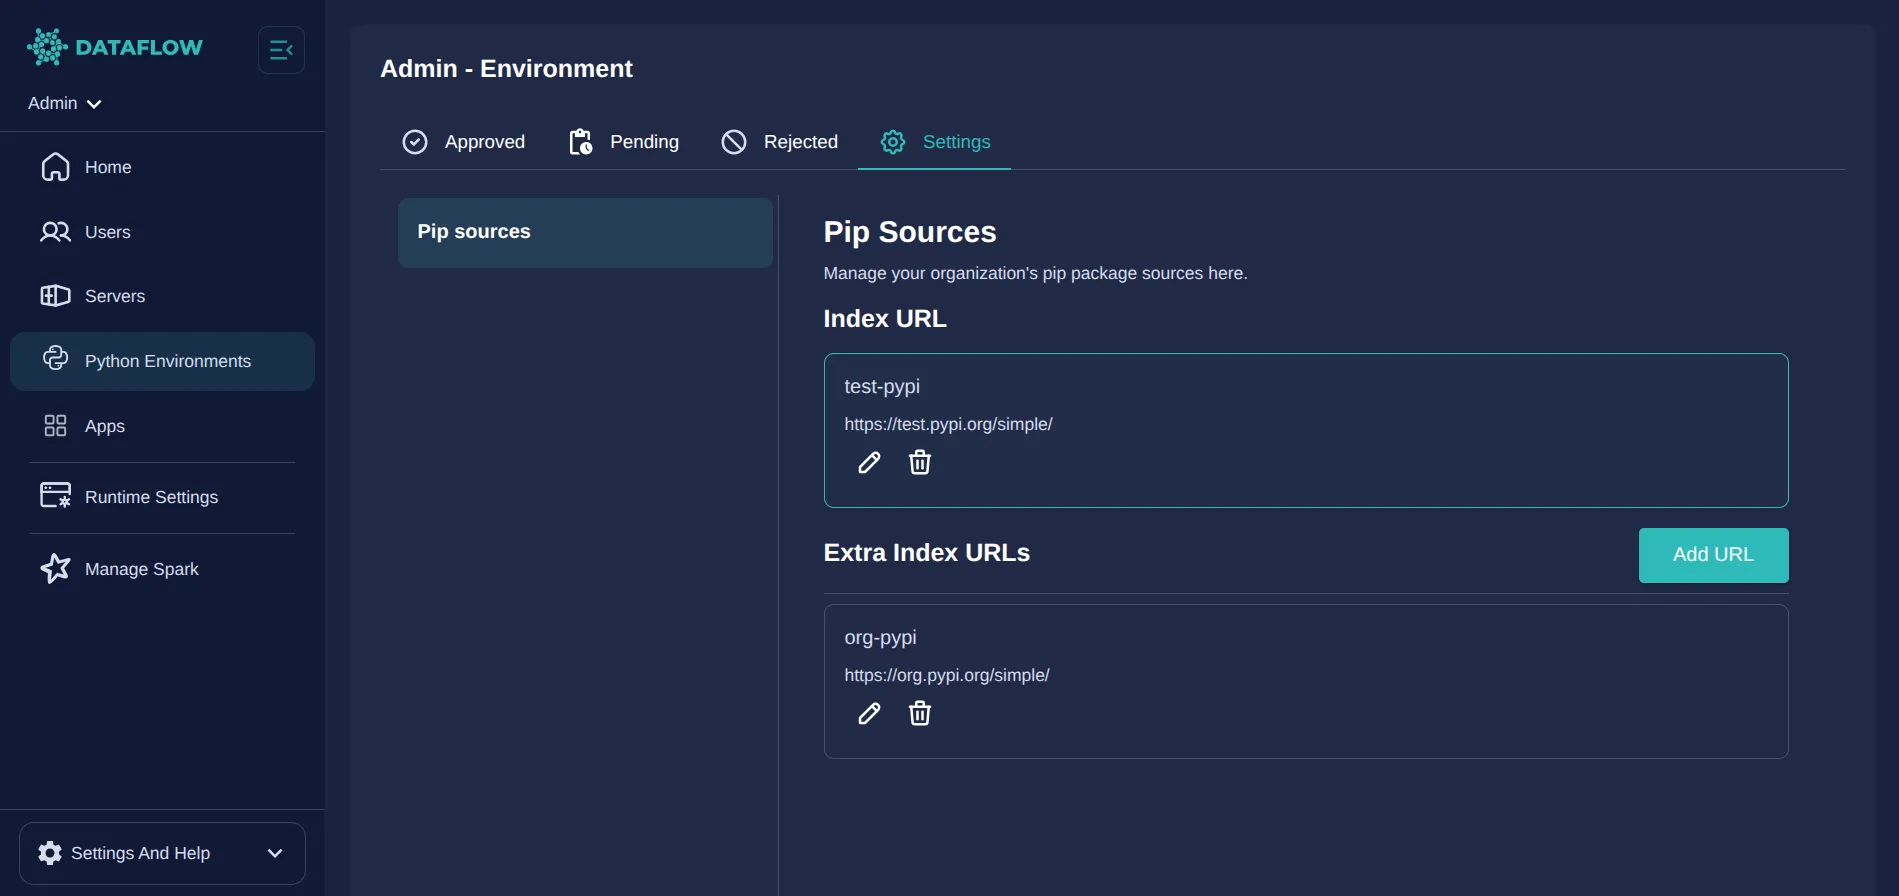
What are Pip Sources?
Pip sources define where Python packages are downloaded from during environment builds. You can configure:
- Index URL: The primary package source (replaces PyPI as the default)
- Extra Index URLs: Additional package sources that complement the main index
Organization-Level Management
Benefits of Centralized Control:
- Ensure all users access approved package repositories
- Configure private or internal package indexes
- Maintain security and compliance across all environments
- Standardize package sources for consistent builds
Managing Index URL
Setting a Custom Index URL:
- Navigate to Admin → Environment Settings from the sidebar
- In the Index URL section, click “Add Index URL” if none exists
- Enter a Name for identification (e.g., “Internal PyPI Mirror”)
- Enter the URL of your package index (e.g.,
https://internal-pypi.company.com/simple) - Click “Add” to save
Editing or Removing Index URL:
- Click the pencil icon to edit the existing index URL
- Click the trash icon to remove and revert to PyPI default
- Changes apply to all future environment builds
Managing Extra Index URLs
Adding Extra Sources:
- In the Extra Index URLs section, click “Add URL”
- Enter a Name and URL for the additional source
- Click “Add” to save
Managing Existing Sources:
- Edit: Click the pencil icon to modify name or URL
- Delete: Click the trash icon to remove the source
User vs Admin Sources
Admin (Organization) Sources:
- Configured by you and visible to all users
- Cannot be modified by individual users
- Automatically included in all environment builds
- Marked as “(Organization)” in user interfaces
User Sources:
- Personal extra index URLs added by individual users
- Only visible to the user who created them
- Complement the organization sources you configure
- Users can add, edit, and delete their own sources
Important Considerations
Impact on Users:
- Changes to pip sources affect all new environment builds
- Existing environments are not automatically updated
- Users will see organization sources in their environment settings